This article will help to understand the Git system via the command line. Before discussing the basic commands of Git, let’s see the short brief about Git.
Git is a modern and widely used open-source Distributed Version Control system in the world. It is developed to manage projects at a personal level as well as at the organizational level with high speed and efficiency. The version control system allows us to monitor and work together with our team members in the same workspace.
We can perform the operations from different operating systems such as Windows, Linux, macOS. It is easy to learn, which helps to track or work together in the same repositories. It is secure, has fast performance.
Let’s begin with the Git workflow, then after move on to useful commands for developers.✌
1. Git Workflow
We have already talked about Git (earlier in the article), which helps to tracks and work on the same workspace that developers or organizations use to collaborate on developing applications.
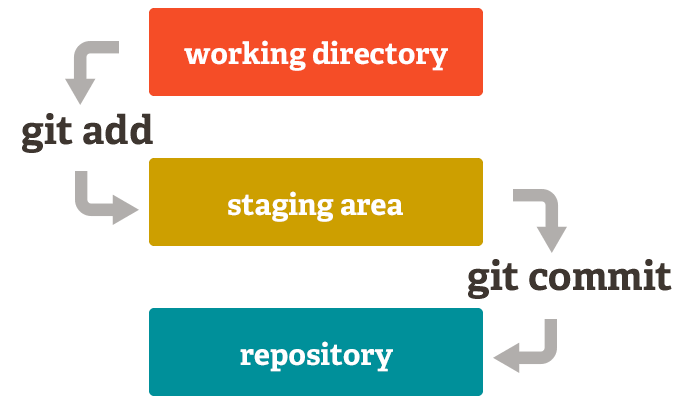
Git Project has three different sections,
- Working Directory: The state where we perform add, delete, modify operations on files.
- Staging Area: After modifying the files, we need to stage or commit the changes before pushing them into the Git directory.
- Git Directory (Repositories): The section where Git stores the committed changes in the repositories.
2. Git Basic Commands
Git has many commands, but those that are useful or mainly used by developers or programmers in the workspace are:
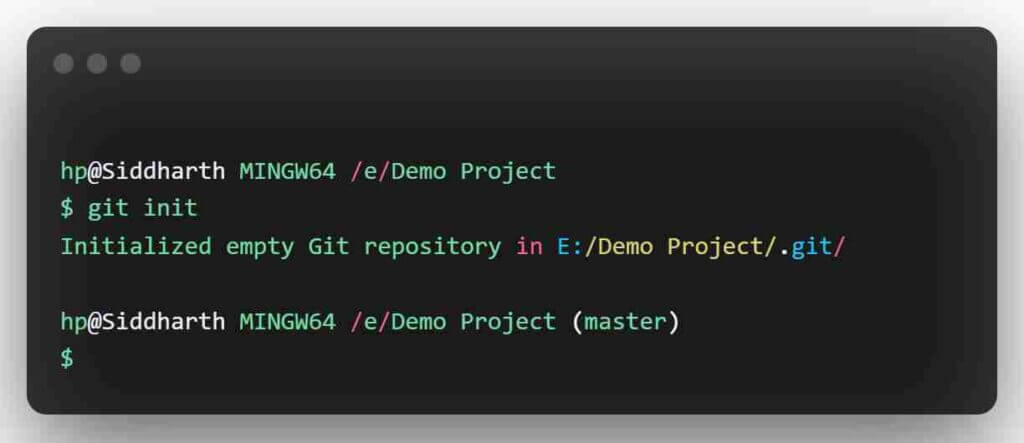
$ Git Init
- If you are creating the new local repository or if you want to create the new directory in a specific project, then you need to initialize git; only then you will be able to commit or adding the files.
1 2 3 | git init |
$ Git Clone
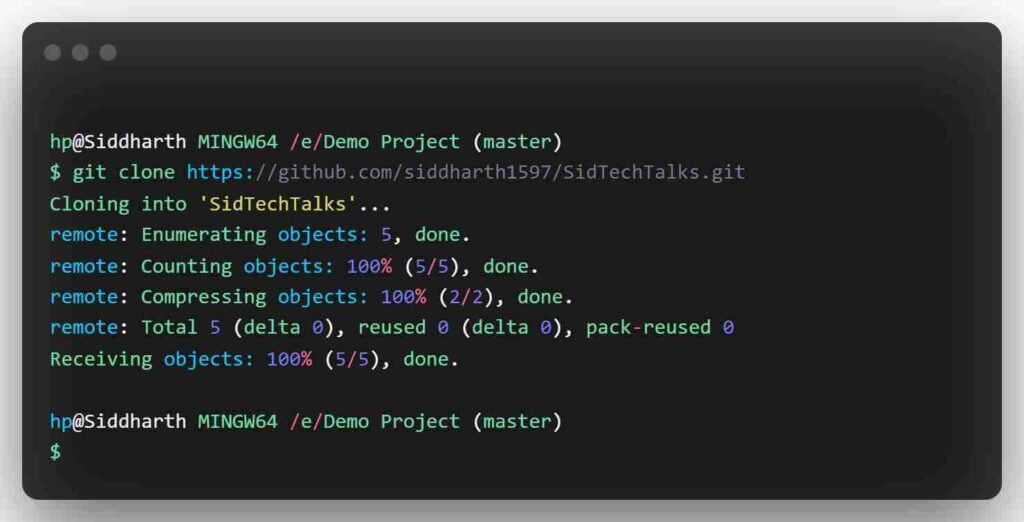
- If you want to copy the directory from remote directory then use:
1 2 3 4 5 | // paste the remote URL to clone the repo git clone <repository url> |
$ Git Status
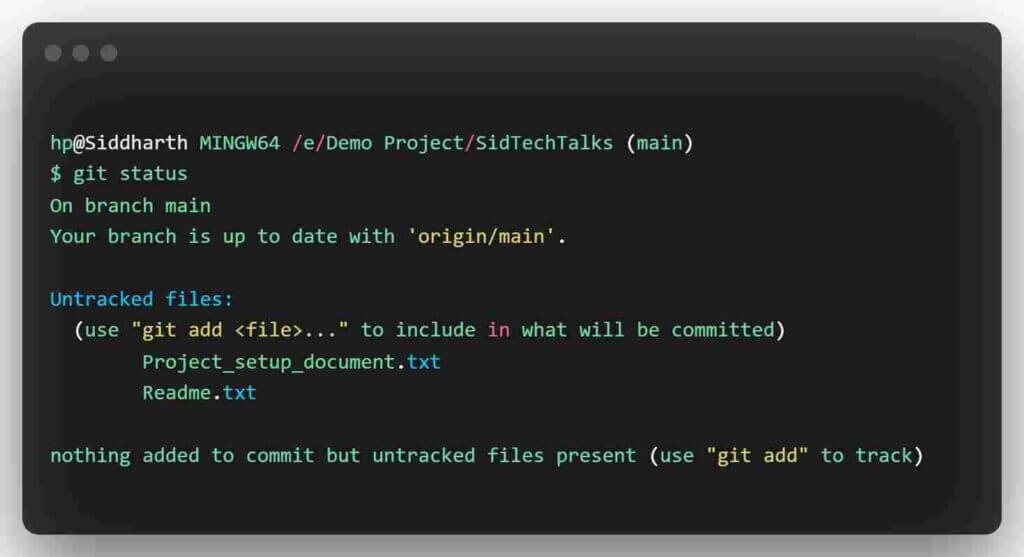
- This command returns the current state of the repository. If your files are in the staged area and not committed yet, then git status shows your files.
- It shows us in two different categories – Staged and Unstaged. Staged means you have already added the file in the staged area. And Unstaged means not added yet. It is a must to use before doing any commit or adding the files.
1 2 3 | git status |
$ Git Add
- It helps to add the files in the staged area for Git. We can perform
git addin various ways, like if you want to add the whole directory or multiple files or all files. Before committing, it is required to add the files in the staging area:
- To add few files:
1 2 3 | git add [file1] [file2] |
- Add all files:
1 2 3 | git add . |
- If you want to add whole directory: (let say templates folder)
1 2 3 | git add templates |

$ Git Commit
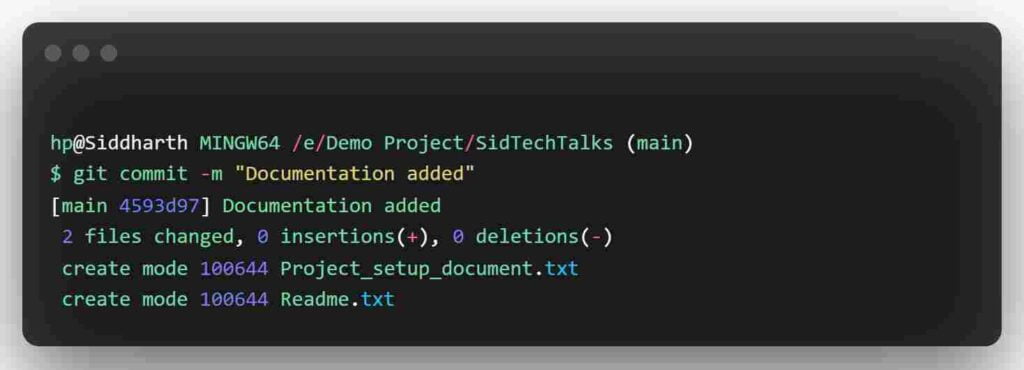
- It creates the changes made to the files and saves them to the local repository. It has created the commit’s unique ID. We should also add some message at the time of the commit to get to know the other team members about the change.
1 2 3 | git commit -m "YOUR MESSAGE" |
- If you want to write longer commit message, this command will open the editor:
1 2 3 | git commit |
- Modify commits, If you want to modify the recent commit message or add the files then use --amend
1 2 3 | git commit --amend |
$ Git Checkout
- It is used to switch the branch to another branch.
1 2 3 | git checkout BRANCH_NAME |
- For create new branch,
1 2 3 | git checkout -b NEW_BRANCH |
- Undo all the changes
1 2 3 | git checkout . |

$ Git Push
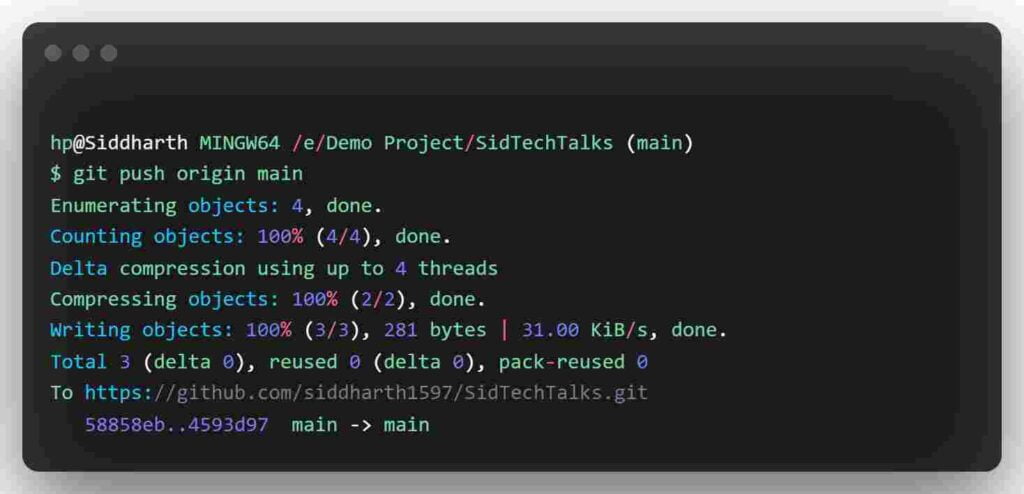
- It pushes the local changes of the repository to remote repository.
1 2 3 | git push origin <branch> |
- Using upstream, push the local changes as the new branch of the remote repo if not exist.
1 2 3 | git push -u origin <branch> |
$ Git log
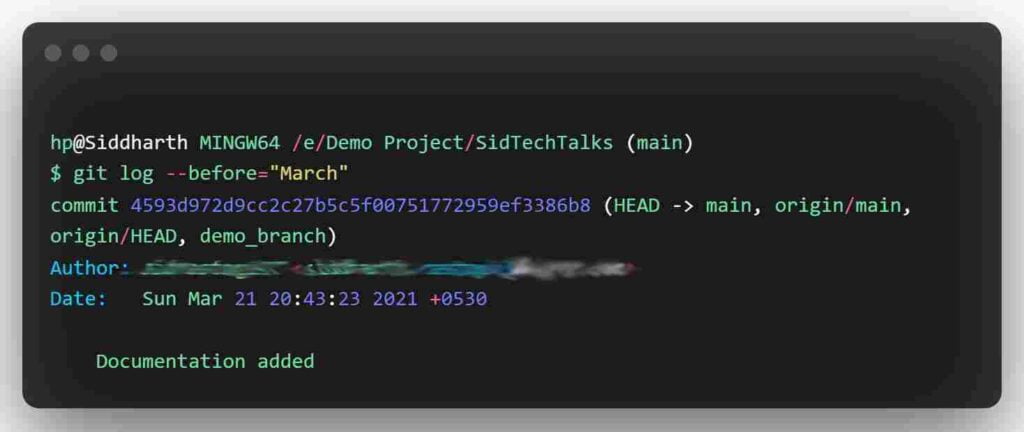
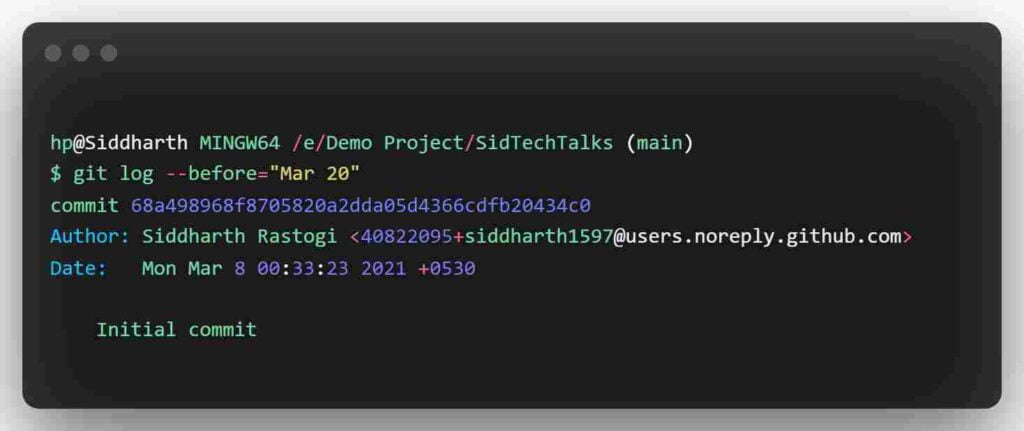
- Used to see the commit history, it displays Date, Author Name, SHA, Author Message. It helps give context and history for a repository.
- You can get the list based on Name or Date also.
1 2 3 | git log |
1 2 3 | git log --author="<AuthorName>" |
1 2 3 | git log --(after/before/since/until)="<Date>" |
$ Git Pull
- To get the latest version of the repository. It would be up to date your local repository to the same as on remote repository.
1 2 3 | git pull origin <branch> |

$ Git Stash
- This command will temporarily store the changes which are not yet ready to commit and give a clean working directory.
1 2 3 | git stash |
- You can use these change later or any time in the current branch by using
pop
1 2 3 | git stash pop |
$ Git Rm
- It can be used to remove files from the Index and working directory (cached).
1 2 3 | git rm --cached [file1] [file2] |
- To delete a file forcefully.
1 2 3 | git rm -f [file1] [file2] |
$ Git Diff
- It helps to see the difference between the base branch and the current branch, displays the modified files that are not added to the staging index.
1 2 3 | git diff [file] |
$ Git Reset
- This command will reset the index and the working directory to the last git commit.
1 2 3 | git reset --hard HEAD |
$ Git Merge
- Used to merge the base branch into your active branch to keep up to date with the current branch.
- Suppose you want to merge the main branch into your current one then:
1 2 3 | git merge <main> |
$ Git Config
- Used to set the user-specific configurations like name, email, the format of the file, and so on. To set up the name or email, we use:
1 2 3 4 5 6 7 | // Setup Username git config --global user.name [Your User name] // Setup Email git config --global user.email [Your Email] |

So, that’s all about the basics as well as important GIT commands that developers should know.
I hope you enjoyed the article and if you found it useful, please share it with your friends and colleagues. If this post helps you, then spread this so that other people can also benefit.
If you have any queries please feel free to post them in the comments section or anything that you want to ask through mail contact.
Thank you😉. Happy Learning 🙌🏻
Also read:
- How to revert or undo last commit in Git?
- All about GitHub and its link with Git – A step-by-step guide
- A Quick Git Bash Commands Cheat Sheet


Sir, u r always bringing topics and adding to my knowledge I m really grateful that I found your page
Thanks