In this article, we will understand and learn Image Processing using the Python programming language. The most common library used for image processing is OpenCV (Open Source Computer Vision Library).
OpenCV supports many algorithms related to Computer Vision and Machine Learning, and it is expanding day by day. Let’s discuss the brief intro of Image Processing and then see some hands-on using the OpenCV-Python library in the Project to make it more understandable.
Image Processing is the core part of Computer Vision, where we use the input image to extract the features from the Image and use those features to further train our models by Machine Learning algorithms to get the final output in the form of bar charts, tables, graphs, which describes the Information of the particular image.
For more information read What is Image Processing? How it is related to Machine Learning?
At the end of the article, you will get to know the basics of the OpenCV-Python Library of Image Processing. Read the full article, ok so Let’s begin.
1. Some basics you should know.
Before going to start, we should know some basic prerequisites to understand the OpenCV framework better. Firstly you should know the one programming language, as I will give the tutorial in python. So, I recommend you start with Python if you want to start your first project in the Image Processing and Machine Learning field.
To know some basics of Machine Learning or Image Processing, then you should read this article first. You should know some basics of Images, that each image is represented by a set of pixels. For a grayscale image, the pixel values range from 0 to 255, and they represent the intensity of that pixel (which means it has 256 possible different shades of gray from black to white).
You should also know about the color images, that it has three channels Red, Green, and Blue (RGB) (which means 256 different shades of red, green, and blue ). By mixing these colors in some proportion, you will get the new desired colors.
2. Installing OpenCV in your systems
It is very easy to install the OpenCV library if you are using python. I have considered that you already installed Python (version 3) on your system.
✅ Windows
1 2 3 | pip install opencv-python |
✅ MacOS
1 2 3 | brew install opencv3 --with-contrib --with-python3 |
✅ Linux
1 2 3 | sudo apt-get install python3-opencv |
Or if you want to check if it is installed or not on your machine then run this in your command line:
1 2 3 | import cv2 |
3. Basics of OpenCV
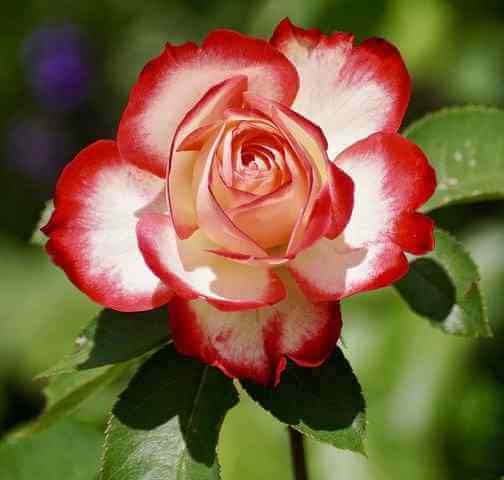
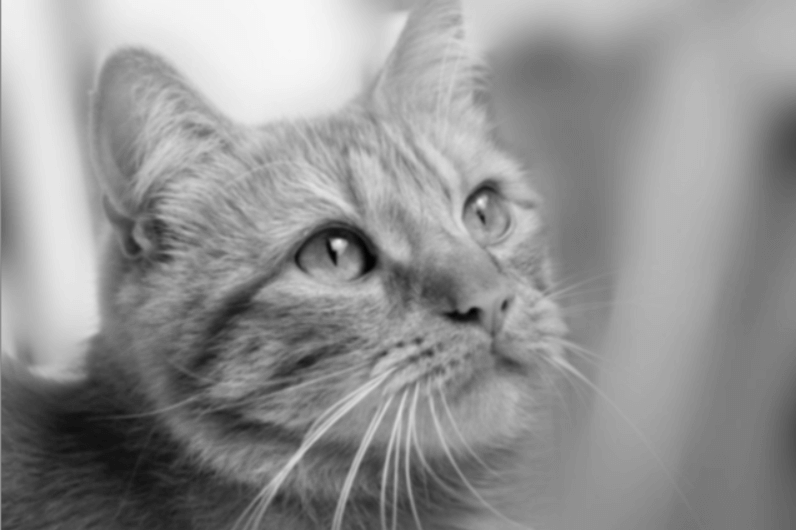
To start the basics we need to select one image in which we can perform the methods:
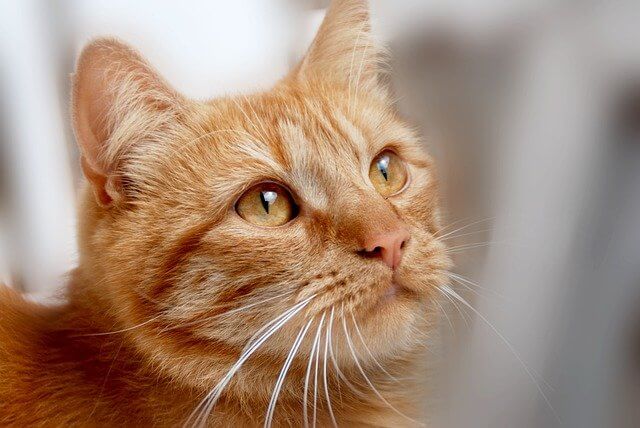
As we saw, this is the color image which means it has three channels Red, Green, and Blue. In the very first step, we will get some information about the image by loading using the imread() function.
1 2 3 4 5 6 7 8 9 10 11 12 | import cv2 img = cv2.imread('cat.jpg') print('Number of Pixels: ' + str(img.size)) print('Shape/Dimensions: ' + str(img.shape)) #Output Number of Pixels: 821760 Shape/Dimensions: (428, 640, 3) |
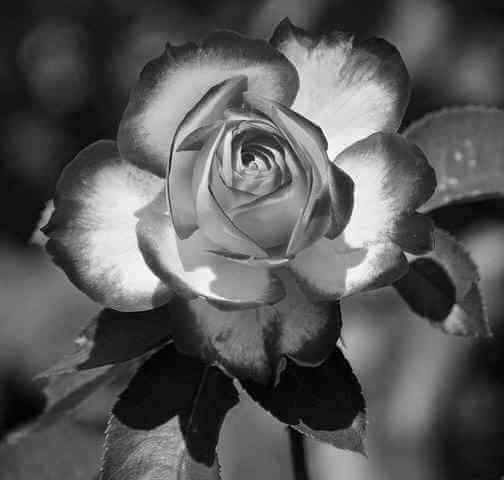
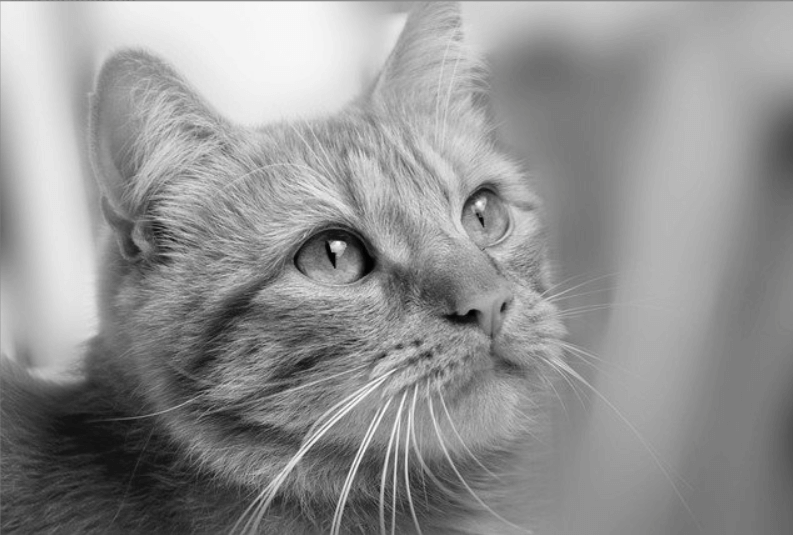
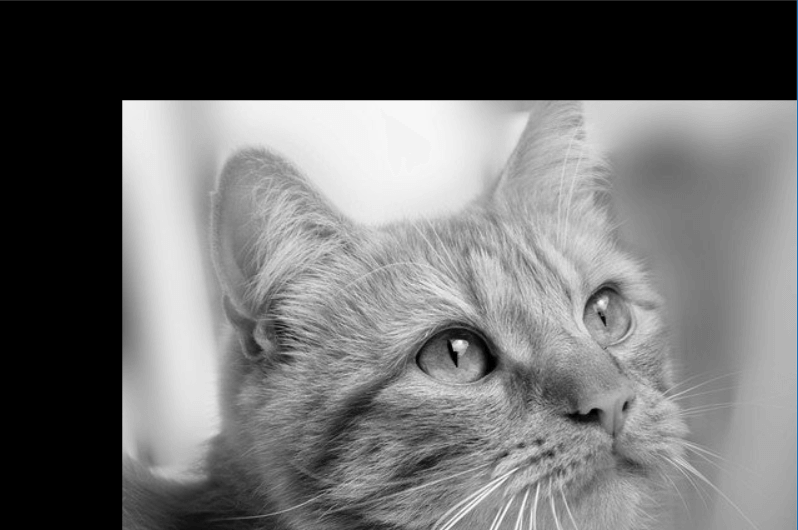
Now convert the image into a grayscale image
1 2 3 4 5 6 7 8 9 10 | import cv2 img = cv2.imread('cat.jpg') gray = cv2.cvtColor(img, cv2.COLOR_BGR2GRAY) cv2.imshow('GrayScale', gray) # display input and output image cv2.waitKey(0) # waits until a key is pressed cv2.destroyAllWindows() # destroys the window showing image |
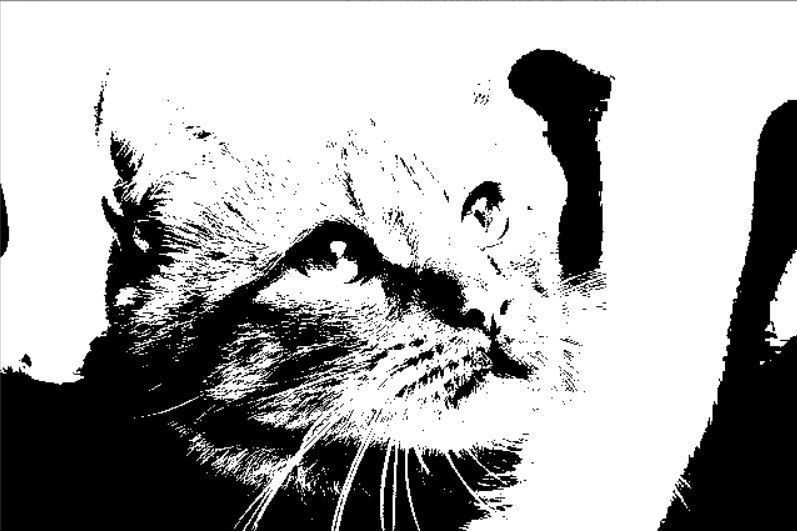
4. Image Thresholding
- The simple concept of Image Threshold is to convert the image into a binary image that assigns pixels either 0 and 1 or white and black.
- It would be done by performing thresholding. If the pixel value is greater than the threshold value (let say 127), then the pixels with greater than 127 would be assigned a value of 1, and the pixels with less or equal to 127 would be assigned 0 value.
- The function used is cv2.threshold. It has four parameters that need to be used. The first parameter is the input image which should be the grayscale image. The second one is the threshold value which is used to classify the range of pixel values. The third one is the max value which represents the value to be given if the pixel value is more than the threshold value. OpenCV provides different styles of thresholding, and it is finalized by the fourth parameter of the function. Let’s take a look.
1 2 3 4 5 6 7 8 9 10 11 | import cv2 img = cv2.imread('cat.jpg') gray = cv2.cvtColor(img, cv2.COLOR_BGR2GRAY) val, threshold = cv2.threshold(gray, 127, 255, cv2.THRESH_BINARY) cv2.imshow('Binary', threshold) cv2.waitKey(0) cv2.destroyAllWindows() |
5. Transformation of Images
As we have seen earlier in the previous post, that image in which function is applied inside this digital system, that processes an image and converts it into output is called Transformation of Image. It includes scaling, rotation, translation, etc. Let’s see the code for this:
✅ Scaling
Scaling is used to resize the image. In OpenCV, we have the function cv2.resize() for scaling. We can achieve this manually or by using the scale factor to resize the image. By default, the interpolation method used is cv2.INTER_LINEAR for all resizing causes.
1 2 3 4 5 6 7 8 9 10 11 12 13 14 15 16 | import cv2 img = cv2.imread('cat.jpg', 0) res = cv2.resize(img, None, fx=0.5, fy=0.5) #scalefactor = 0.5 #or height, width = img.shape[:2] res = cv2.resize(img,(2*width, 2*height)) #size double input image. cv2.imshow('scaling', res) cv2.waitKey(0) cv2.destroyAllWindows() |
✅ Translation
The translation is used to shift the object location in (x, y) directions. You can make it into a Numpy array of types np.float32 and pass it into cv2.warpAffine() function. See the below example for a shift of (100,80):
1 2 3 4 5 6 7 8 9 10 11 12 13 14 | import cv2 import numpy as np img = cv2.imread('cat.jpg', 0) rows,cols = img.shape m = np.float32([[1,0,100], [0,1,80]]) dst = cv2.warpAffine(img, m, (cols, rows)) cv2.imshow('Translated', dst) cv2.waitKey(0) cv2.destroyAllWindows() |
6. Smoothing of Image
As the name defines, we make the image smooth by removing the noise. Images contain different types of noise, mainly from the source itself. There are different types of filters that we use to make a smooth image, but one filter which is commonly used is Gaussian Filtering.
We use cv2.GaussianBlur() for doing this. There are different parameters that we need to pass:
1 2 3 | blur = cv2.GaussianBlur(img, (5,5), 0) |
We should specify the Gaussian kernel size [ height width] (it should be positive or negative). If ksize is set to [0 0], then ksize is computed from sigma values. It uses border type by default cv2.BORDER_DEFAULT
7. Morphological Transformation
We have another method that is used to reduce more noise from the image by using the Erosion and Dilation process. In the process of Extraction, it plays a vital role to reduce the noise from the image.
Erosion – a technique for shrinking the image to ensure the unwanted noise found further diminishes.
1 2 3 4 | kernel = np.ones((5,5), np.uint8) erosion = cv2.erode(img, kernel, iterations = 1) |
Dilation – a technique for regaining the original size of the image or size of the foreground object increases.
1 2 3 4 | kernel = np.ones((5,5), np.uint8) dilation = cv2.dilate(erosion, kernel, iterations = 1) |
These two processes overall reduce the noise in the image. Example below:

If you want to reduce the noise you need to use both methods on the image like
Erosion followed by Dilation (said to be Opening) – It is useful in removing noise. Here we use the function, cv2.morphologyEx().
1 2 3 | opening = cv2.morphologyEx(img, cv2.MORPH_OPEN, kernel) |
Dilation followed by Erosion (said to be Closing) – Closing is the reverse of Opening. It helps close small holes inside the foreground objects or small black points on the object.
1 2 3 | closing = cv2.morphologyEx(img, cv2.MORPH_CLOSE, kernel) |

8. Canny Edge Detection
Edge detection is a fundamental tool in image processing, machine learning, and computer vision, particularly in the areas of feature detection and feature extraction.
Canny edge detection is a technique to extract useful structural information from different vision objects and dramatically reduce the amount of data to be processed. And also, we can say, a set of contours extracted from the image.
We can achieve this by using the method cv2.Canny(). It has three arguments the first one is input grayscale image, second and third are threshold minValue and maxValue.
1 2 3 4 5 6 7 8 9 10 11 12 13 14 15 | import cv2 import numpy as np from matplotlib import pyplot as plt img = cv2.imread('cat.jpg', 0) edges = cv2.Canny(img, 100, 200) plt.subplot(121),plt.imshow(img, cmap = 'gray') plt.title('Original Image') plt.subplot(122),plt.imshow(edges, cmap = 'gray') plt.title('Edge Image') plt.show() |
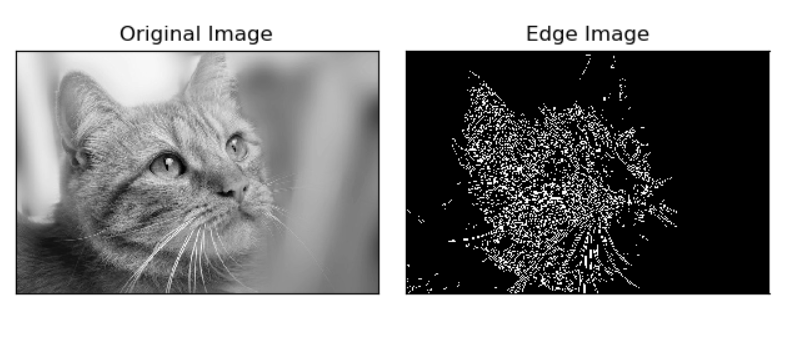
The canny edge detection algorithm is one of the most strictly defined methods that provide good and reliable detection.
So, that is all about Image Processing with Python using the OpenCV library. Hope you like it👍 and got knowledge of getting started with Image Processing. In our next article, we will discuss more Image Processing and Machine Learning using Python language and take examples of more OpenCV techniques.
If you found this useful… then like and share this with your friends or on social media, or have any queries, please do ask in the comments section or anything that you want through mail contact.
Thanks.😉
Also read:
- What is Image Processing? How it is related to Machine Learning?
- [Easy way] – Face Detection using OpenCV & Python


This is a knowledge HUB.Ty Siddharth sir for letting us know about these basics , will surely try and let you know the output.